


I love experimenting and playing in the kitchen. This is the perfect time of the year to experiment just a little while relying on tried and true recipes for gift giving and meals. I've been doing a lot of canning for Christmas gift baskets and to restock my jellies. Yesterday I decided to take a bit of a break from canning to do a little dehydrating, freezing, cheese making and candy making. After a day spent doing a lot of genealogy and playing in the kitchen, a pot roast was the ideal meal!
(November 7, 2006 additions to this post. What was I thinking? I forgot to add the sourcing so have made those corrections. )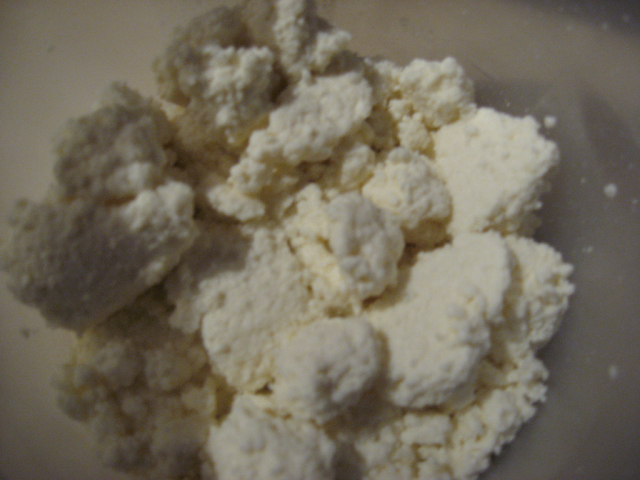 Ricotta Cheese
Ricotta cheese is a creamy white cheese with a rich mildly sweet taste and grainy texture. Homemade ricotta cheese is very easy to make. It is best made in small batches because ricotta does not keep long. So make it fresh in small amount and use up within a week. This is a cheese best used fresh as it does not freeze well. Ricotta cheese can be used in main dishes and desserts. Two notes when making ricotta cheese. Use a high fat milk. The higher the cream content the creamier the ricotta cheese will be. Low fat milks will not work well for this recipe. I prefer using pure cider vinegar as it give a slightly better flavour to the finished cheese.
Ricotta Cheese
Source: unknown
1 qt 3.25% MF Milk
1/8 c white or cider vinegar
Heat milk to 180ºF. Remove from heat and stir in the vinegar. The milk will separate into curds and whey. Let the mixture sit to develop curds. Line a strainer with cheesecloth. Pour the milk mixture into the strainer and allow to drain until curds are dry but moist. This will take two to four hours. Transfer the curds to a container and seal.  Yogurt Cheese Setup
Source: unknown and one handed down through the family, modified by me to use homemade yogurt
I make a lot of yogurt and the method can be found in an earlier blog entry. Not only do we eat a lot of plain yogurt since we eat it daily, I use plain yogurt for dips, cooking and making cheese. Yogurt cheese is very easy to make and it is quite versatile. It is a very creamy cream cheese that can be flavoured with fresh herbs or other seasonings. It is perfect for spreding on crackers as a base for appetizers.
The setup for making yogurt cheese is rather simple. Line a strainer with cheese cloth. Pour in about 2 cups of plain yogurt. The higher the fat content, the creamier the cheese will be. Homemade yogurt is perfect for this. Set the stainer and yogurt on top of a container then lightly cover the top of the yogurt with the cheese cloth. Put the entire setup into the refrigerator and let drain 18 to 36 hours. The long the cheese drains the firmer it will be. Yogurt Cheese
Once the cheese it at the desired consistency you can stir in seasoning or leave as is. Transfer the cheese into a 8 oz (250 ml) wide mouth mason jar. Place a lid on then vacuum seal. Store in the refrigerator. Use as a spread for bagels or crackers. It makes a nice dip base too, simply use in place of cream cheese. This makes a lovely gift just be sure to keep it refrigerated.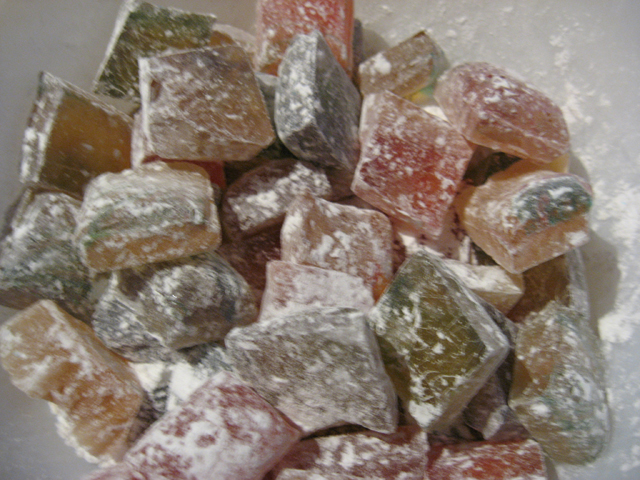 Old Fashioned Crystal Cut Candies
Crystal cut candies are an old fashioned candy with a lot of flexability. They are perfect for gift giving. Flavour and colour as desired. You can use candy molds or cut into square puffs the old fashioned way as described in the instructions.
Crystal Cut Candies
Source: Better Homre and Gardens®, Cookies and Candies, 1972. Meredith Corporation, 1966, New York. Pp. 82.
2 c granulated sugar
1/2 c light corn syrup
1/2 c water
dash of salt
food colouring
candy flavouring
Combine ingredients in large saucepan. Bring to a boil and cook to soft-crack stage (290ºF). Add desired food colouring and 4 to 6 drops of candy flavouring like oil of cinamon. Gently swirl the mixture to blend. A neat trick I use is to drop two or three colours of food colour on top of the candy after adding flavour. Then I use a toothpick to create multi-colour swirls for an interesting effect. Pour the candy into a 8"x8"x2" metal pan. Do not use glass and be very careful as the candy is hot enough to cause burning. Let stand a few minutes until a film forms over top. Mark the candy into 3/4" squares being very careful to not break through the film. The candy will cool from the edges first. Go over the markings pressing downward slightly but not breaking the film. Continue this procedure until the candy has cooled. Once cooled pop out of the pan and break into pieces. Sprinkle about 1/2 cup icing sugar over the candy for storage in an air tight container.
My Notes: Instructions for crystal cut candies have modified to get the results pictured.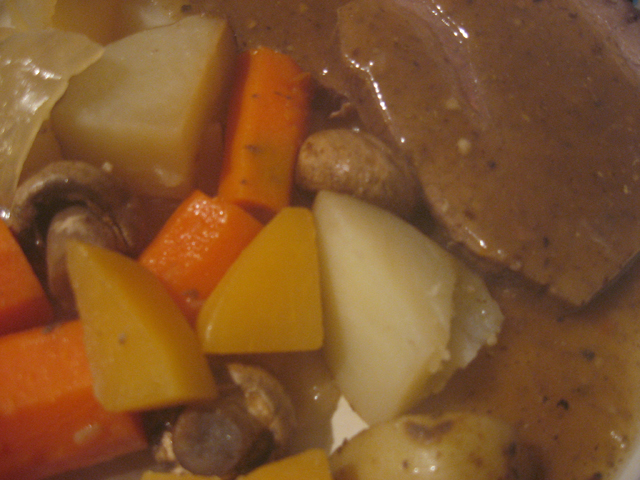 Roast Beef Dinner
After a day full of genealogy and cooking a nice easy meal straight from the oven is a true delight. I put a small rib eye roast into a roasting pan, seasoned with Worchestershire sauce, Montreal steak seasoning, sliced onions and a little water. This cooked for about 2 hrs at 275ºF. I added potato, carrot and turnip pieces along with whole mushrooms and raised the temperature to 350ºF and let the roast and vegetables continue cooking until the vegetables were cooked. The roast was removed to rest before slicing and the vegetables were transferred to a serving bowl. I used the juices to make gravy by adding mushroom powder, salt, pepper and thickened with a corn starch slurry. The end result was a nice meal with very little effort.
Enjoy!

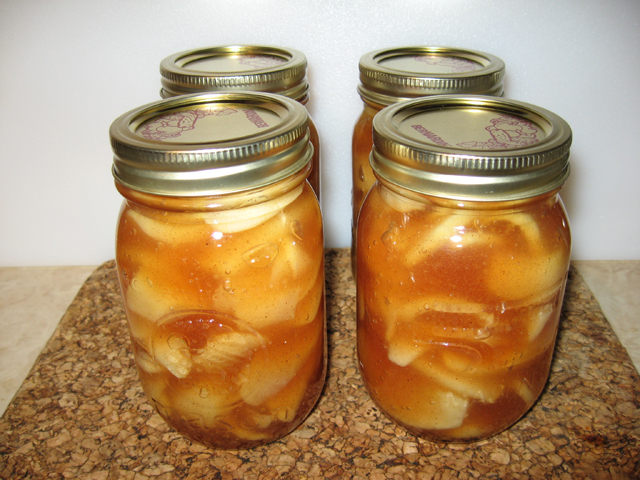 Apple Pie Filling
 Cranberry Claret Jelly, Apple Jelly, Cabernet Jelly, Apple Pie Filling
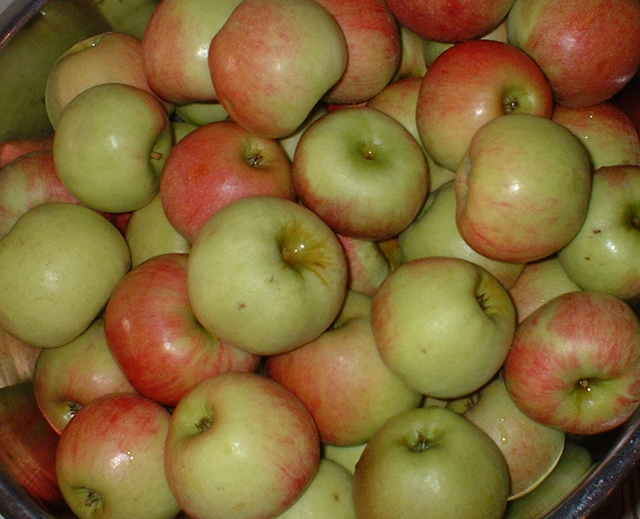
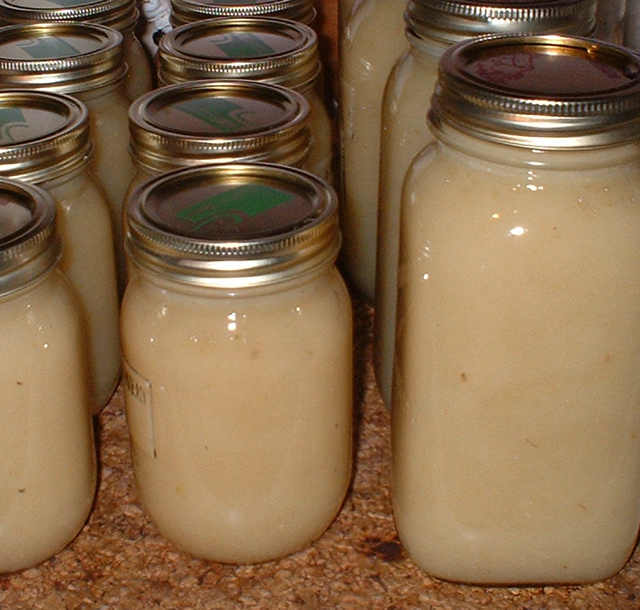 Applesauce
 Wreath Shaped Spritz
 Classic Spritz Cookies
 Venison Chili Reducing
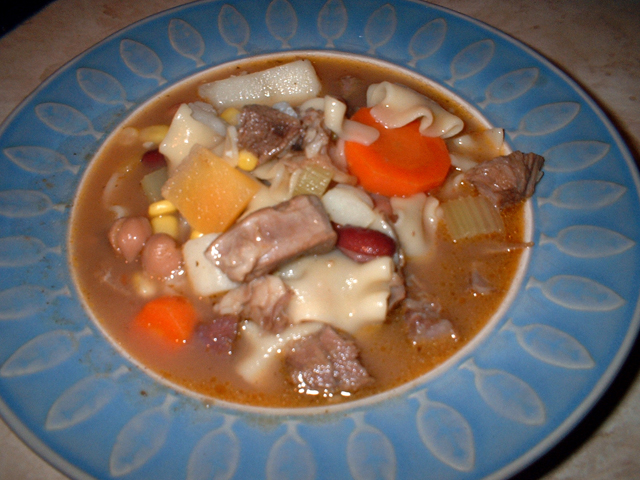
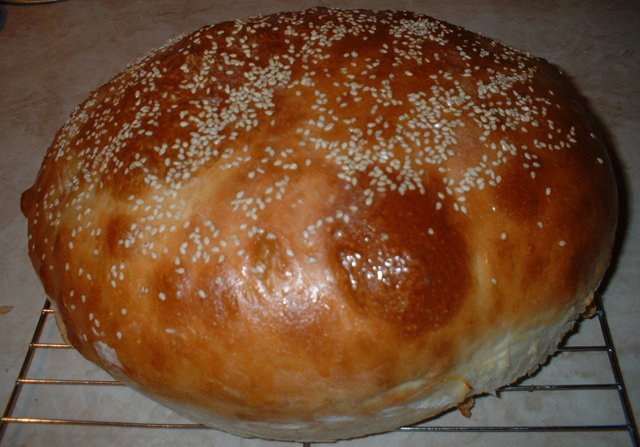 The Bun
 The Fillings
 Party Sandwich Cut
 Homecanned Carrots