


I processed six 250 ml jars of pickled beets and six pints of plain canned beets last Friday. Beets are messy to process but the rewards are worth it. There a few essetials when processing beets. The first of these is an incentive so I cracked open the last jar of pickled beets. There's nothing like the taste of these to provide ample incentive. Next I put on old clothes and pulled out latex gloves. I prefer the latex gloves as they fit better. I find a stiff brush is a must for cleaning the beets. A few cloths to wipe up spashes and drops as I worked were added to the counter top. This will help minimize beet stains and is the trick to not having to do a big clean-up after canning. This was important on Friday as this was the start of our Thanksgiving weekend and I knew we would be having a housefull as early as dinner time that night. Another trick I use is during food prep, I leave the dishwasher open to load as I use each item. Next I set up my mis en place. I find this type of organization streamlines the canning process.
Mis en place means having all your ingredients prepared and ready to go before starting to cook. Translated it means "to put in place". I use this method whenever I cook. While no special bowls are necessary, I like using little glass bowls and custard cups for ingredients like spices and liquids under 4 oz. Larger bowls are necessary for ingredients in high quantity. There are a few reasons I think mis en place is important. This is a sure fire way of knowing you have all the ingredients and not at the last moment realize you are out of something while the dish has already started cooking. My kitchen work surface is small so having a lot of jars and larger containers on the counter is not practical. The most important reason is to streamline the cooking process so it goes smoothly and efficently. Pickled Beets, Canned Beets
Beets are washed then cooked before processing. When cooking the beets for processing, a nice deep purplish red juice is produced. Do not discard this juice. Either pressure can or freeze for use as a natural dye. Be sure to label well I processed plain beets in 500 ml jars in a pressure canner for 30 minutes. This is necessary because beets are a low acid food.
Pickled beets are a must have in our home. I make a double batch of Jean Pare's recipe, a simple but tried and true recipe. The pickled beets look beautiful in the jars but then I might be a little biased. Please be sure to read My Notes after the recipe as the original recipe does not have the processing times.
BEET PICKLES
There are no spices added to this pickle. They have a nice tang.
3 lbs Beets with 1 inch (2.5 em) tops intact Water to cover
Water to cover
BRINE
2 c White vinegar
2 c Water
1 c Granulated sugar
1 tsp Table salt
Cook beetsin water in large pot until tender. Cool in cooking water until you can put your hands in comfortably. Slide off beet skins. Leave tiny beets whole. Cut larger beets into chunks. Pack into hot sterilized jars to wlthin 1 inch (2.5 cm) of top.
Brine:While cooking water is cooling, combine vinegar, wager, sugar and salt in saucepan. Heat on medium and stir often until it reaches a boil. Pour over beets in jars to within 1/4 inch (6mm) of top. Seal.
Makes 3 pints.
source: Jean Pare, Preserves, 1994. Pp. 91
My notes: These pickled beets are simply delightful and so easy to make! No processing time was given in the original recipe. I process in a boiling water bath 30 minutes for pints or quarts and 20 minutes for half pints.
Enjoy!

 Lined Pie Pan
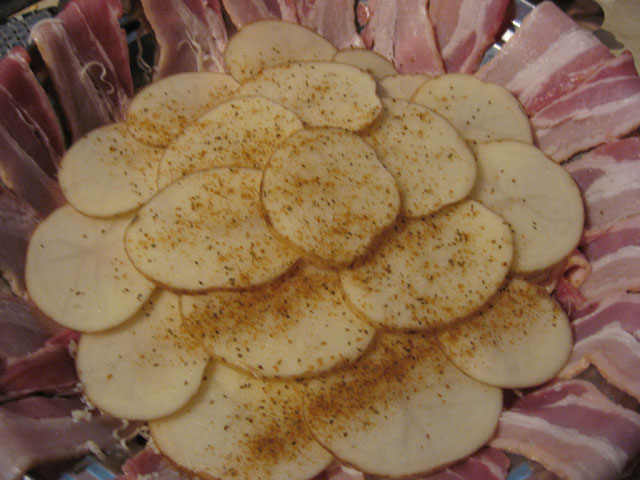 Potatoes with Spices
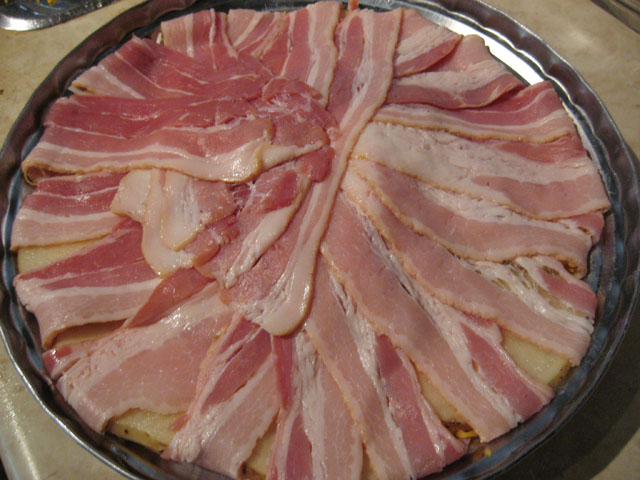 Wrapped
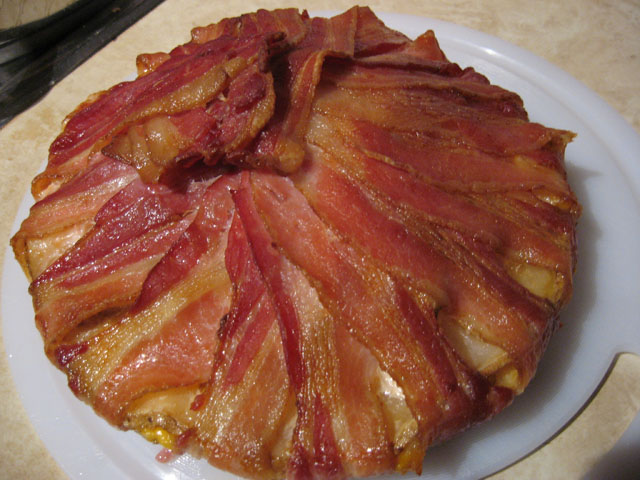 Baked
Baked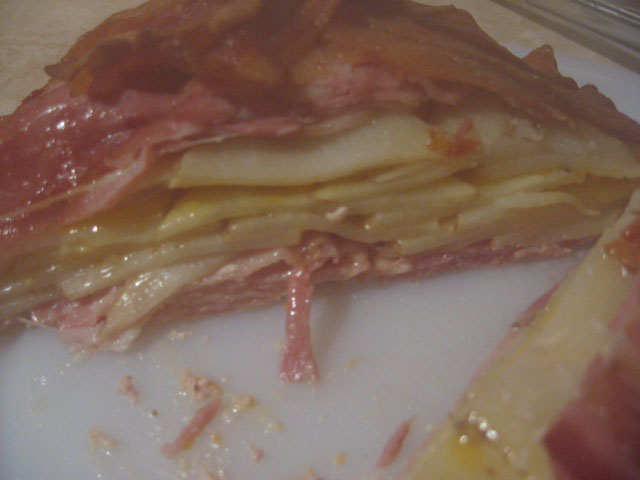 Cut
Cut Some of the Salsa Ingredients
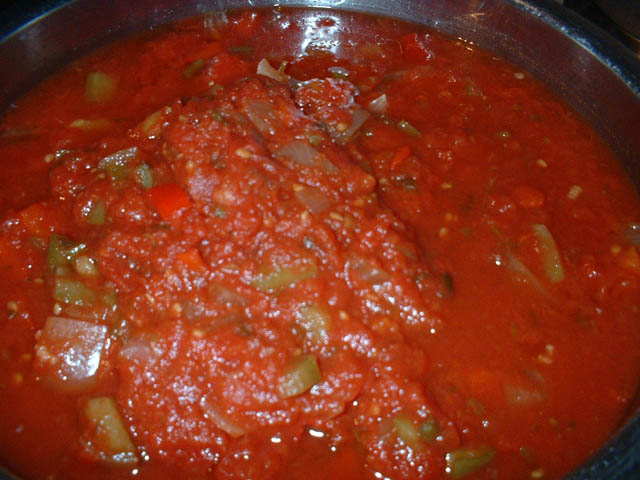 Salsa
Salsa Bottled Salsa
 Green Tomato Ketchup
 Barbeque Pig
 Tomato Juice