Cook ingredients that you are used to cooking by other techniques, such as fish, chicken, or hamburgers. In other words be comfortable with the ingredients you are using.
--Bobby Flay
For Your Information
Please watch this area for important information like updates, food recalls, polls, contests, coupons, and freebies.- [March 19, 2020] - Effective Mar 17, this blog will no longer accept advertising. The reason is very simple. If I like a product, I will promote it without compensation. If I don't like a product, I will have no problem saying so.
- [March 17, 2020] - A return to blogging! Stay tuned for new tips, resources and all things food related.
- [February 1, 2016] - An interesting report on why you should always choose organic tea verses non-organic: Toxic Tea (pdf format)
- Sticky Post - Warning: 4ever Recap reusable canning lids. The reports are growing daily of these lids losing their seal during storage. Some have lost their entire season's worth of canning to these seal failures! [Update: 4ever Recap appears to be out of business.]
Popular Posts
-
Asparagus, Yellow Wax Beans, Kentucky Wonder Pole Beans, Herb Glazed Carrots, Corn Natalie made a comment on yesterday's entry reques...
-
Peameal bacon is a cured pork loin that has not been smoked. It is not to be confused with bacon sold as "Canadian Bacon" which i...
-
As a result of milder fall temperatures the pepper plants were still producing nicely through the mid portion of last week. The plants were...
I intended to make an entry about roasting beef on the grill but I have had a request for my tomato soup recipe so decided to do that entry first. Tomatoes will soon be upon us. I've been picking Tiny Tims, Grape and today picked my first Lemon Boy and Ultra Sweet. For this recipe, I recommend a meaty tomato and a food mill for a smoother soup.
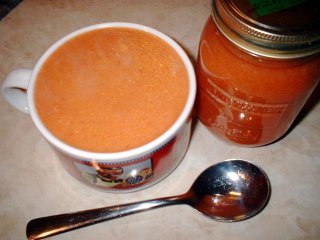 Garden Tomato Soup
This recipe is from Bernardin's Tomatoes Canning & Speciality Recipes. It must be pressure canned. You may safely double the recipe but I would leave the amount of bay leaves the same. For those on sodium restricted diets the salt may be omitted. Instructions are paraphrased and my notes follow.
Garden Tomato Soup
16 c chopped tomatoes (about 8 lb)
3 1/2 c chopped onion
2 1/2 c chopped celery
2 c chopped red pepper
1 c carrots
7 bay leaves
1 tbsp whole cloves
1 clove garlic, minced
1/2 c lightly packed brown sugar
2 tsp salt
Prepare jars and lids as per BBB instructions. Wash, blanch, core and chop tomatoes. Measure 16 cups. Combine tomatoes, onions, celery, pepper, carrot, bay leaves and garlic in large stainless steel saucepan. Simmer uncovered until soft. Press through a sieve or food mill. Return mixture to saucepan. Add sugar and salt. Cook over medium heat for 15 minutes. Ladle soup into hot jars leaving 1 inch headspace. Use a nonmetallic utensil to remove air bubbles. Wipe rim and place snap lid on jar. Apply screw band and secure until finger tight. Process 20 minutes 10 lbs pressure or adjust pressure for your altitude.
Makes 4-500 ml jars
My notes: This is a nice fresh tasting soup! To re-heat, pour the contents into a saucepan. Add 1/2 tsp butter if desired and a little milk if you want a creamed soup. Otherwise just heat the soup and enjoy.

I was going to write about my mini bulk cooking session but haven't uploaded the pictures yet. Instead I decided to write about cherries! Unfortunately I do not have any cherry trees so I have to buy cherries. By far the best prices are the orchards and U-picks.
 Sweet Cherries
Sweet cherries are now available here in Ontario. They sure are beauties this year! Not only are they good for eating, they make a deep, rich coloured jam full of flavour. Steeped in either whiskey or brandy they make a wonder liqueur. They make a tasty snack when dried and are just perfect over ice cream.
 Sour Cherries
The local orchard sells sour cherries in 5 kg (11 lb) plastic buckets. The cherries are pitted and ready to use or you can buy them already frozen. I like buying them unfrozen so I can divide into smaller amounts. If I'm really busy with other produce, I will freeze then make jam later but normally I make the jam as soon as I get the bucket. The bucket is never wasted either. I use them in the gardens and greenhouse for several tasks.
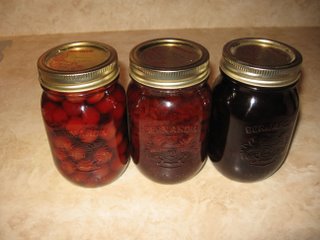 Canned Cherries, Sour Cherry Jam, Sweet Cherry Jam
I think the cherries look nice whether canned whole, as pie filling or as jam. Cherries canned whole can be used for syrups, as an ingredient, or thickened for pie filling. They also make wonderful jams to tickle your tongue. Cherry jam is not just for sandwiches either. We seldom use jams of any kind for sandwiches. Cherry jam makes a wonderful cake filling, quick mini tart filling, stirred into plain yogurt and ice cream topping. I like to keep canned whole, pie filling and jams on hand.
I use the recipe included with CERTO liquid pectin for Cherry Jam along with my notes. If you want a recipe using powdered pectin use the Ball Blue Book recipe or the recipe included with your pectin package.
Sweet or Sour Cherry Jam
4 cups prepared cherries
2 pouches CERTO liquid pectin
7 cups granulated sugar
1/4 cup lemon juice (sweet cherry only)
Stem, pit and finely chop or pulse in cherries in food processor. For Sweet Cherry, reduce fruit to 3 3/4 and add 1/4 c lemon juice. In large saucepan stir together prepared fruit, sugar and lemon if using. Bring to a boil over high heat. Boil hard 1 minute. Remove from heat. Stir in CERTO liquid pectin. Stir and skim for 5 minutes to prevent floating fruit. Ladle hot jam into hot jars, leaving 1/4-inch headspace. Adjust two-piece caps. Process 10 minutes in a boiling-water canner.
Yield: about 6 half-pints
My notes: For a special sweet cherry jam add a little whiskey or brandy.




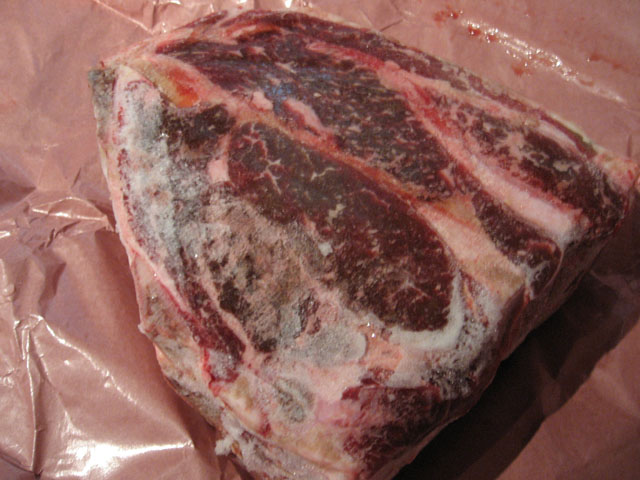 Frozen Blade Roast
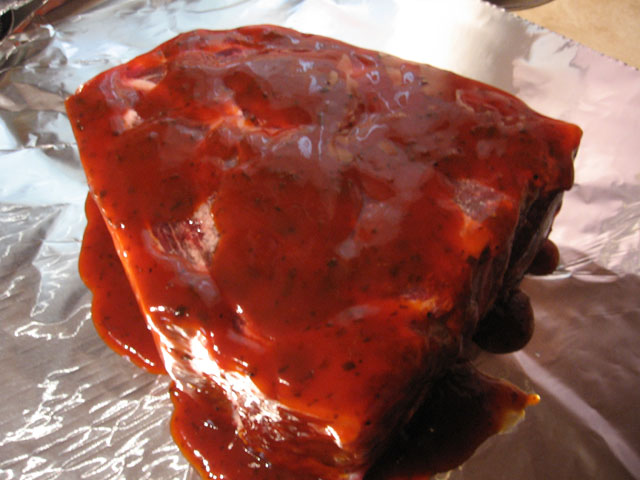 Roast with Sauce
 Foil Wrapped
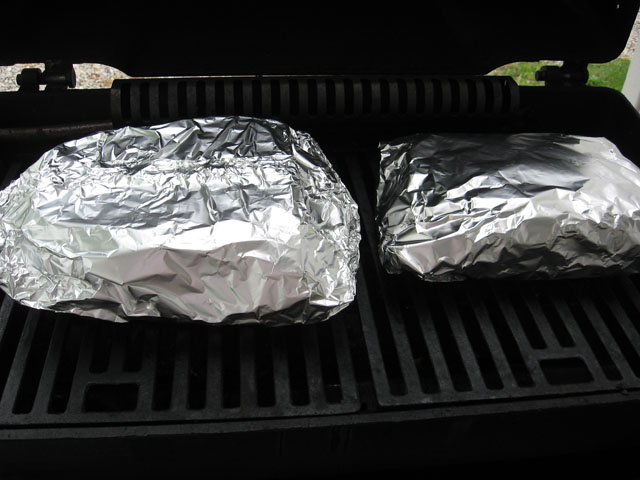 On the Grill
 Shredded Grilled Roast Beef
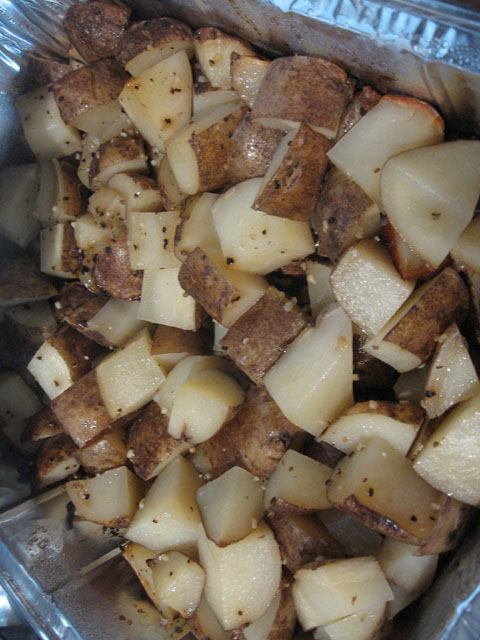 Campstyle Potatoes
 Garden Tomato Soup
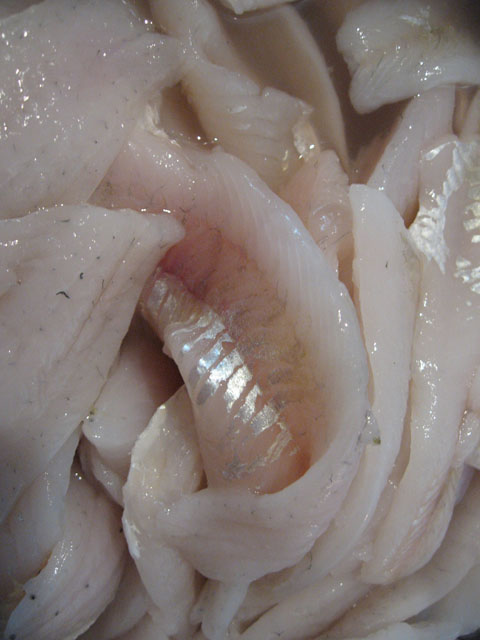 Fresh Perch
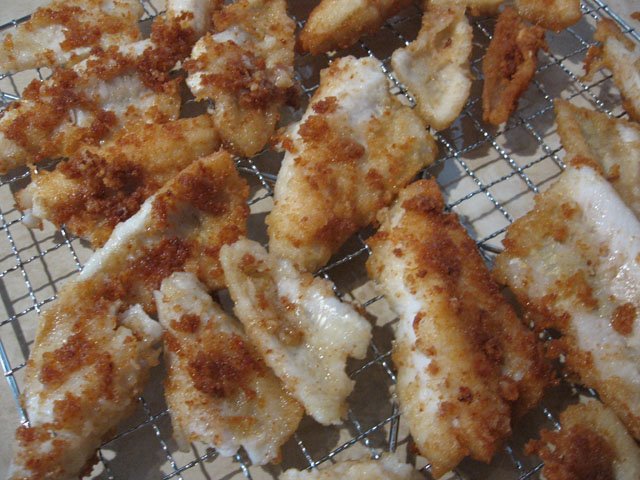 Pan Fried Perch
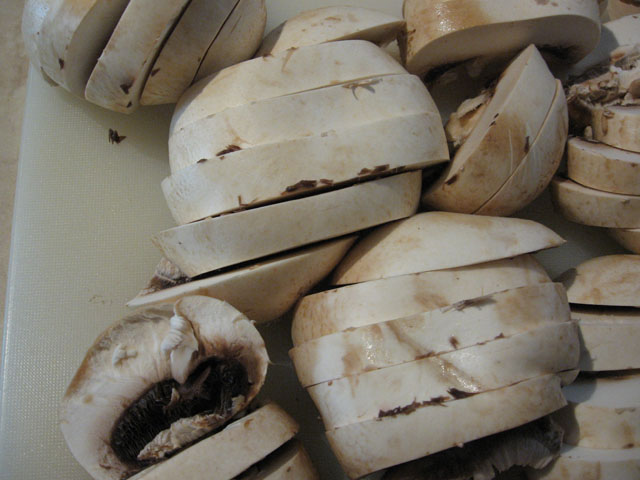 Mushrooms
 Mushroom Zucchini Mix
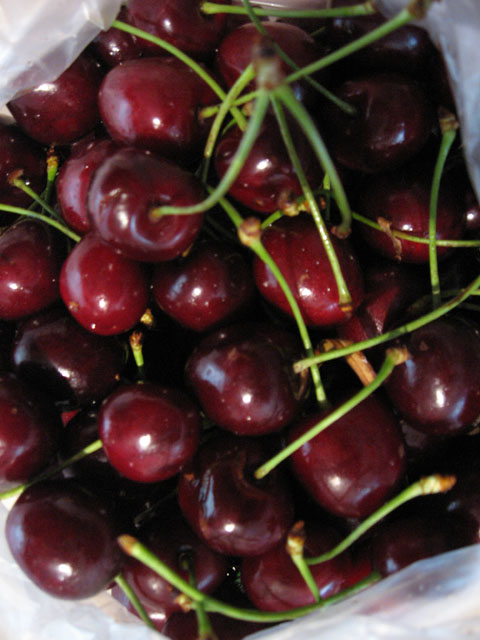 Sweet Cherries
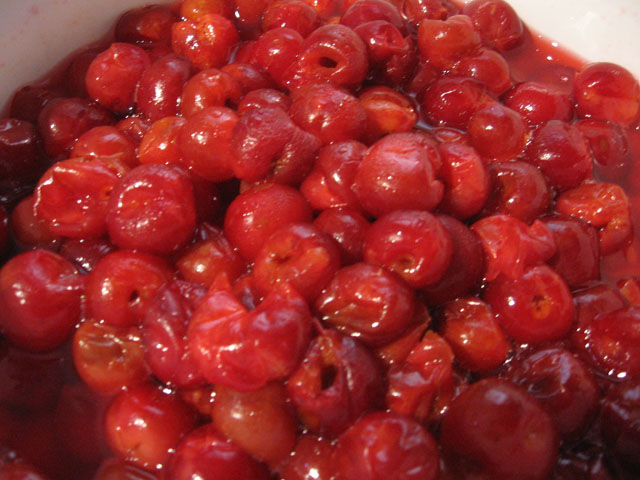 Sour Cherries
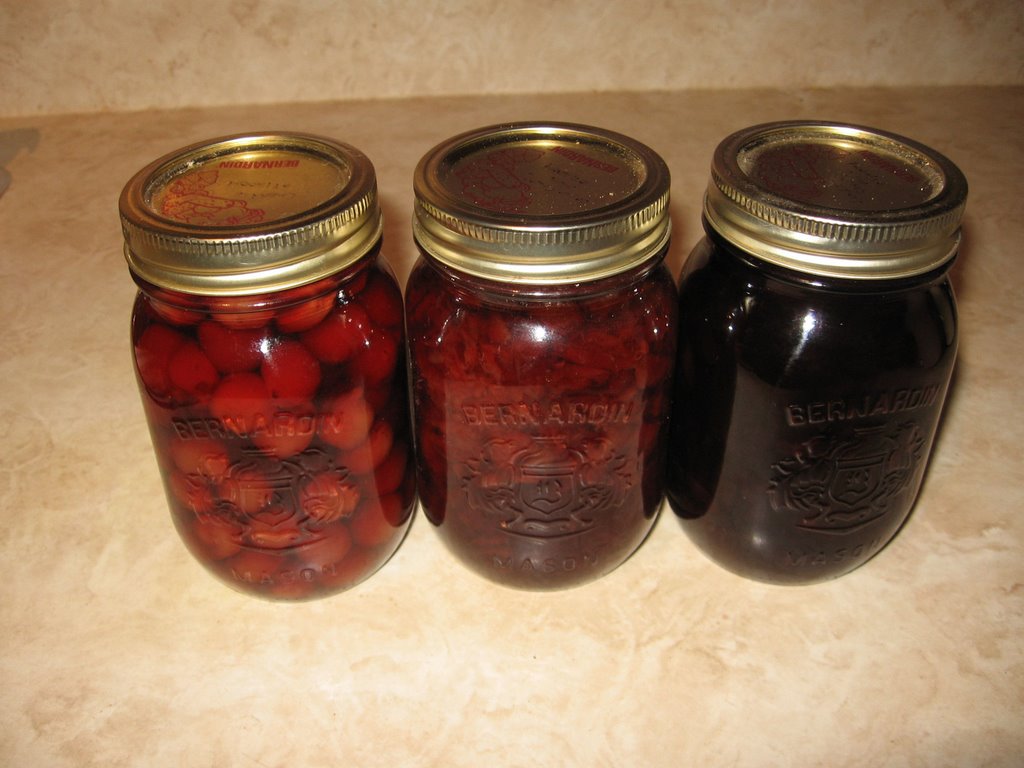 Canned Cherries, Sour Cherry Jam, Sweet Cherry Jam