We are incredibly blessed to live in Southwestern Ontario, right in the midst of some of the richest and most productive farmland in Canada. We are also within a stone's throw of the Great Lakes and several connecting tributaries making locally caught fresh fish available year round. The area is home to orchards, mushroom farms, cheese factories, flour mills, salt mines, maple syrup bushes, apiarys, and multitude of food producers. We don't buy meat at a grocery store; we buy a cow from a farmer who takes it to an abattoir for processing. The vast majority of our food is bought directly from several local farmers or producers. Essentially, we can acquire most of our food locally grown or produced within a 100 mile radius of our home. So we have been locavores before it ever became a movement.
Unless you live close to a bakery, the best bread you can get is homemade. I don't even know the cost of bread in the grocery stores! However, the most basic homemade bread is made with flour, salt, yeast (or starter) and water so very, very inexpensive even using higher end flours. Moving up, you might use an egg, milk or milk powder, sugar, honey and any number of seasonings or additives like onion, cheese, raisins and etc. that increase the cost but only by pennies. Aside of the cost savings, you are getting a more nutritious, higher fiber loaf of bread without preservatives or high fructose corn syrup. If you make sourdough or sprouted grain breads, you are getting an easier to digest bread.
Our Daily Bread is stone ground organic flour from
1847 Stone Milling, a family run mill outside of Fergus, Ontario. The McKeown's began by grinding small amounts of flour for their own personal use. They brought a stone burr flour mill from Austria in 2013 and now produce a variety of high quality flours for their customers. Their customer service is stellar with fast and friendly shipping!
Daily Bread is made without fortification, bleaching
agents or levelers. This is their all-purpose flour ground from a blend of
hard red wheat and soft red wheat to create a perfectly balanced protein
level for everyday baking. The buttery smooth texture has sweet
notes of nougat and subtle notes of Brazil nut. It can be used in place of unbleached white flour in most recipes. In fact, I would say all recipes to be honest. Pie crusts would be a bit darker but also more nutritious if made with Daily Bread flour.
I used Daily Bread flour to make a loaf of sourdough bread. This flour did not disappoint - such a beautiful flour to work with! The flour itself is silky smooth. The dough came together nicely and developed into a smooth dough quickly. The bread had a nice rise with a bit smaller aeroles than sourdough made with unbleached flour. Unlike breads made with regular whole wheat, the texture was quite smooth and lovely! As you can see, it is a bit darker. Of note, hubby normally doesn't like a full whole wheat bread but he loved this bread.


 Before
 After
After Sourdough French Bread Loaves Cut
 Sourdough French Bread (oven baked)
 Creamy Greens Soup
 Sourdough Sponge
 Sourdough Dough
 Sourdough Bread


 Bran Muffins
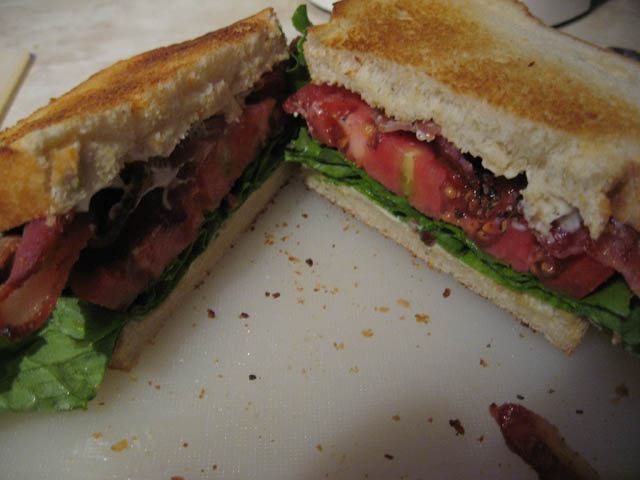 The Perfect Sandwich
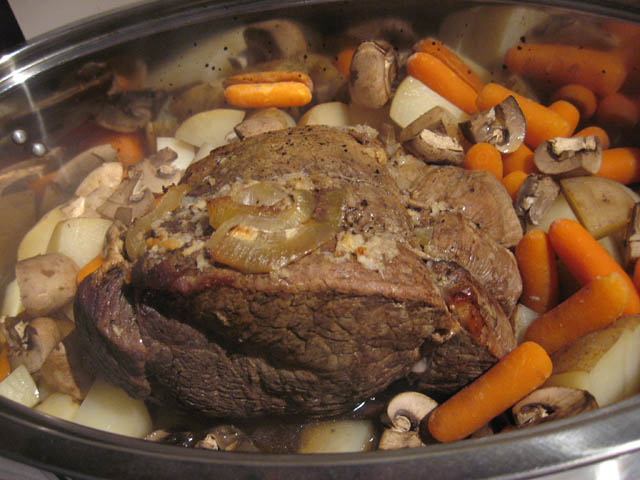 Sunday Pot Roast
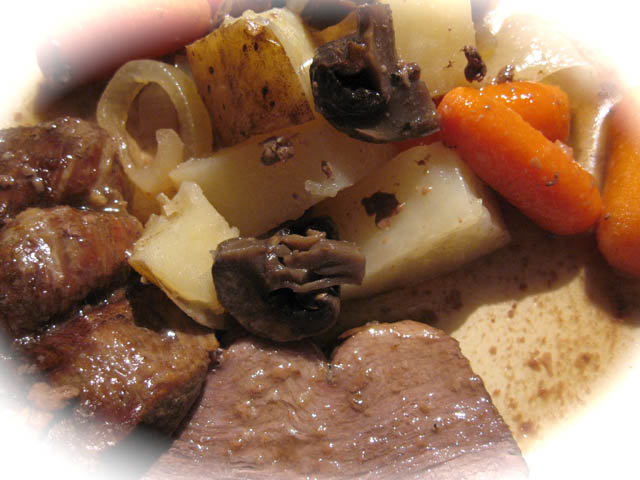 Pot Roast Plated