


Home preserving is still in full gear and I must say I'm getting tired. The heavy canning should slow by next week giving me a little more free time. In the meantime, we have resorted t a few quick meals.
 Colby Longhorn Cheese
When we were younger, poorer and less culinary refined we thought certain cheese slices were the only thing to use for grilled cheese sandwiches. Over the years, our concern about the quality and taste of food we eat has changed dramatically. A few years ago, I bought a nice buffalo milk mozzarella and now we simply refuse to eat mozzarella in those store bricks. You know the kind? They come in large 900 g packages, often on sale and once you get them open there is very little flavour difference between the varieties. So over the years I have gradually been introducing new and more flavourful varieties. This colby has a nice flavour. If you compare cost per g to those store bricks there is not a great difference. Yes it is just a little more expensive but I think the flavour is worth it and well within anyone's budget. I have found that many cheeses out there give the flavour without emptying the wallet. My husband never complains when I tell him we are going on a cheese expedition either. I picked up some 6 yr old aged Amish sharp cheddar. Now that was the most excellent cheese! Next trip I will buy a lot more of that.
 Grilled Cheese Sandwich
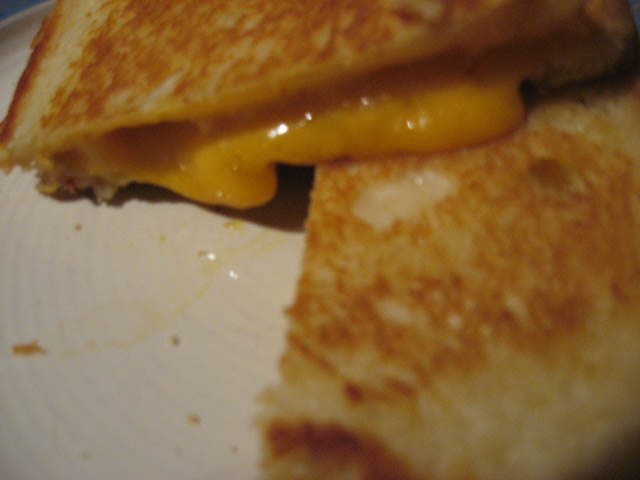
Sorry this is not the best picture. My digital camera operations need just a little more fine tuning but my husband was not about to wait for his sandwich. This sandwich was made with the colby longhorn cheese. We have one of those electric sandwich makers as well as the kind you can use on an open fire but my husband insists the only way to make a good grill cheese sandwich is in the fry pan. Now I have him hooked on the cast iron fry pan, he generally uses it. We use a lot of different kinds of cheese depending on our mood. The bread is generally homemade sourdough or white but this time of year we also use herbed or tomato herbed bread. This time it was sourdough bread.
My favourite cheese sandwich is open faced and broiled. I think that is the only way my Mom knew how to make it and the gas oven did a really nice job. The electric oven does a good job set to broil. I just cut thick slices of the cheese, lay on the bread then broil until bubbly and just a little browned. Yummy!
 Bruschetta in a Jar
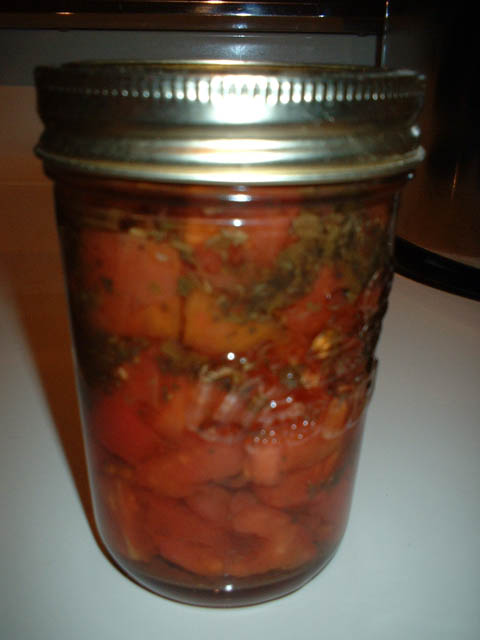
This is really a nice extra to have on hand. Now bruschetta really refers to the bread but this is what the recipe is called so who am I to argue. I serve this a few different ways usually heated. The first is to add the buffalo mozzarella cheese on top of bread rounds then top with the bruschetta mixture and bake everything. The second is to bake just the bead rounds with cheese then add the bruschetta mixture. The third way is to top bread rounds with the bruschetta mixture then sprinkle with grated cheese of your choice without any baking. Anyway you do it, this makes a lovely appetizer.
BRUSCHETTA IN A JAR
source: Bernardin, Tomatoes Canning & Speciality Recipes, 200, Pp. 62
A handy jar to have on hand for unexpected guests. For appetizer - toast a baguette with cheese and top with drained Bruschetta mix. Use the liquid in a vinaigrette. Quick dinner - toss a jar of Bruschetta with cooked pasta; add olive oil, sliced olives, fresh grated Parmesan cheese and fresh cracked pepper, to taste.
INGREDIENTS
9 cups (2250 ml) chopped plum tomatoes, about 3 1/21b (1.6 kg), 20 medium
5 cloves garlic, minced
1 cup (250 ml) dry white wine
1 cup (250 ml) white wine vinegar
2 tbsp (30 ml) balsamic vinegar
1/2 cup (125 ml) water
2 tbsp (25 ml) granulated sugar
2 tbsp (25 ml) dried basil
2 tbsp (25 ml) dried oregano
Place 7 clean 250 or 236 ml mason jars in a boiling water canner; fill with water, bring to a rolling boil. Prepare lids. Keep jars and SNAP Lids in hot water until ready to use.
Wash, seed and chop tomatoes into 1/2 inch (1 cm) pieces; measure 9 cups (2250 ml); set aside.
Combine garlic, white wine, wine vinegar, balsamic vinegar, water, sugar, basil and oregano in a deep stainless steel saucepan. Bring to a full boil; reduce heat. Stirring occasionally, boil gently, covered, 5 minutes. Remove from heat. Lightly pack tomatoes into a hot jar to within 3/4 inch (2 cm) of top rim. Add hot liquid to cover tomatoes leaving1/2 inch (1 cm) headspace . Using nonmetallic utensil, remove air bubbles. i(j Wipe jar rim removing any stickiness. Center lid on jar; apply screw band securely until fingertip tight. Do not overtighten. Place jar in canner. Repeat for remaining tomatoes and hot liquid.
Cover canner; return water to a boil. At altitudes up to 1,000 ft (305 m), process - boil filled jars- 20 minutes.. Remove jars without tilting. Cool upright, undisturbed 24 hours; DO NOT RETIGHTEN screw bands. After cooling check jar seals. Sealed lids curve downward. Remove screw bands; wipe and dry bands and jars. Store screw bands separately or replace loosely on jars, as desired. Label and store in a cool, dark place.
Makes about 7-250 or 236 ml jars.
Best use within In 6 months.

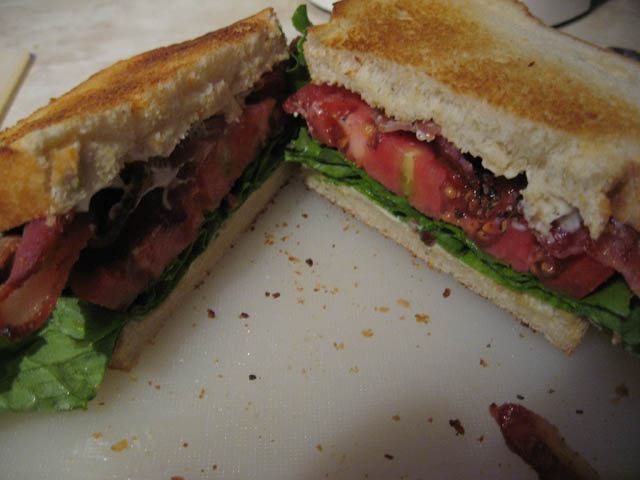 The Perfect Sandwich
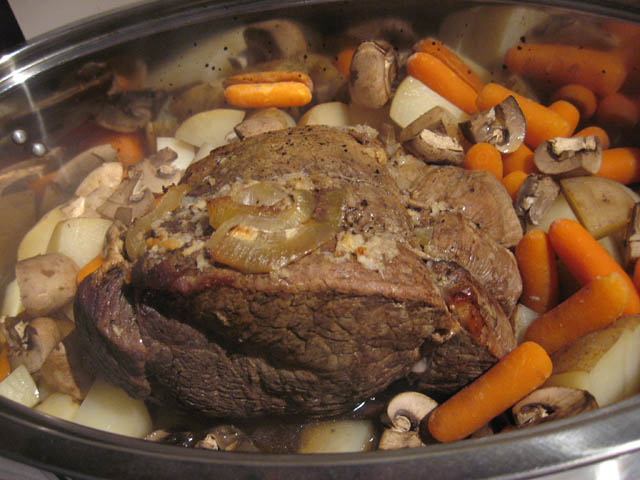 Sunday Pot Roast
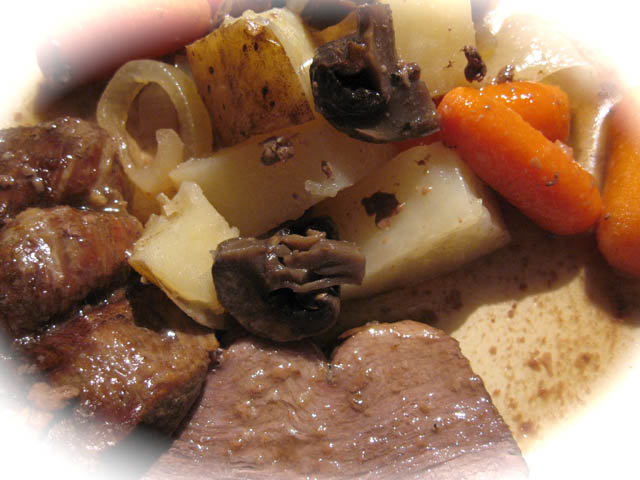 Pot Roast Plated
 Beefmaster Tomatoes
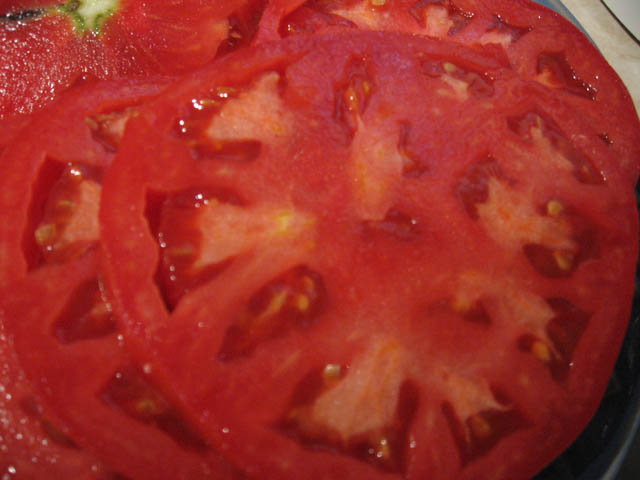 Beefamster Slice
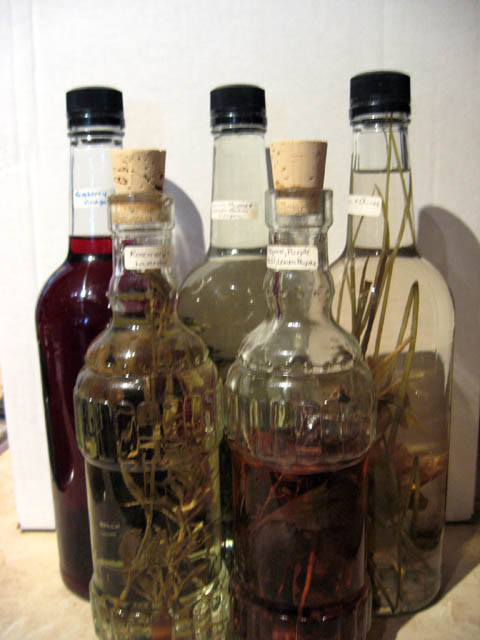 Flavoured Vinegars
 Tomato Soup
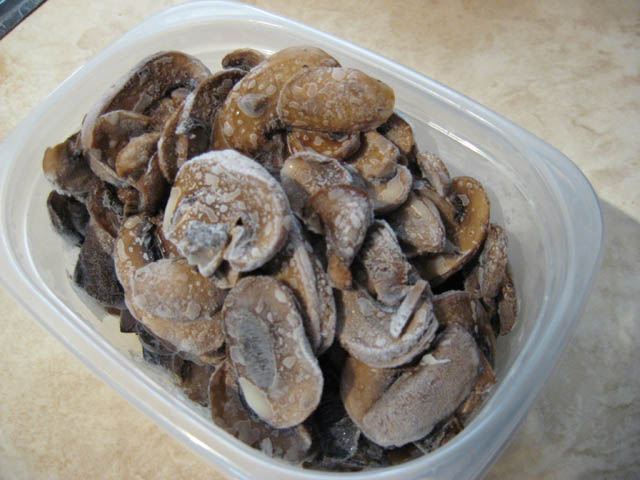 Frozen Mushrooms
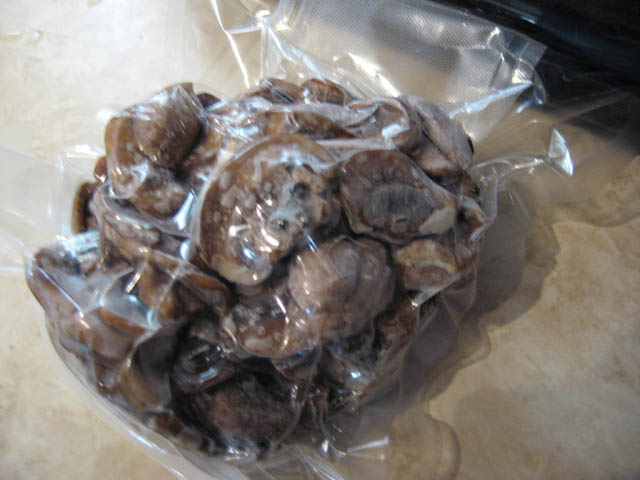 Vacuum Sealed
 Garlic Pasta with Sauteed Mushrooms
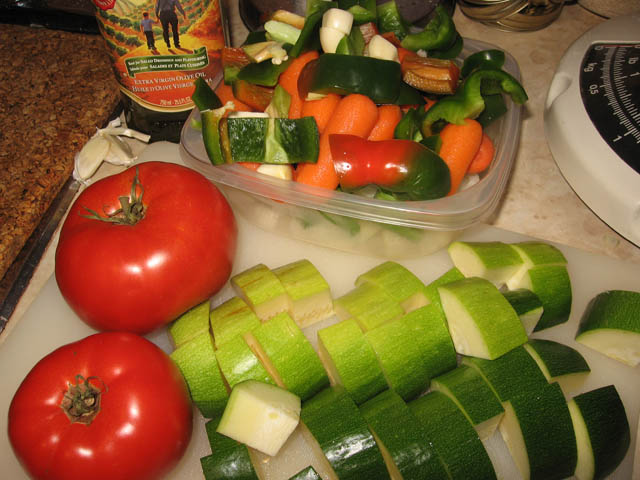 Sauce Ingredients
 Canned Roasted Vegetable Sauce
 Zucchini Sticks
 Ready for Freezer
 Grilled Ancho Peppers
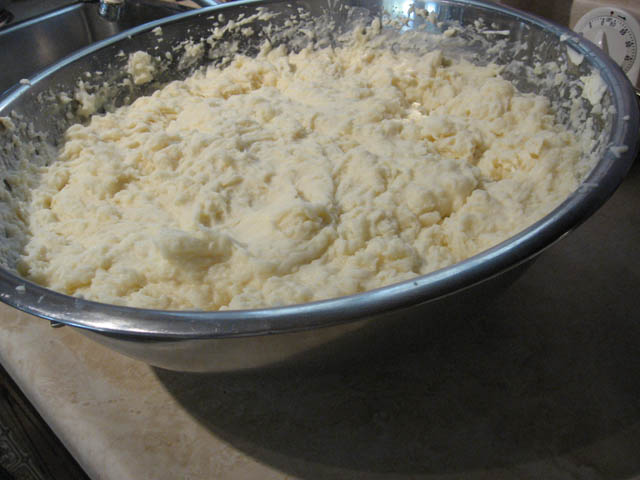 Fancy Potatoes
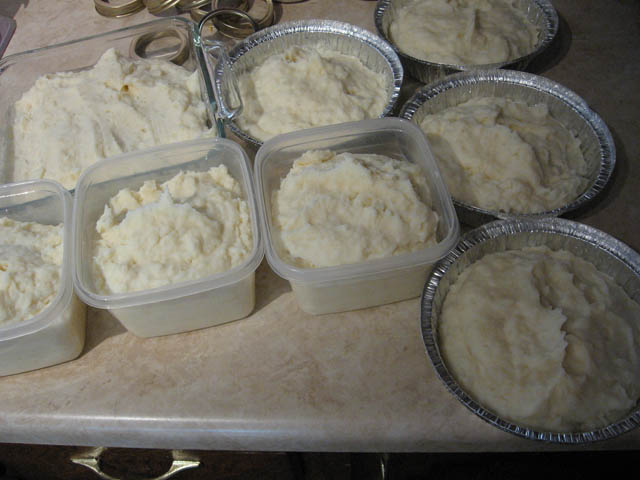 Potatoes in Containers
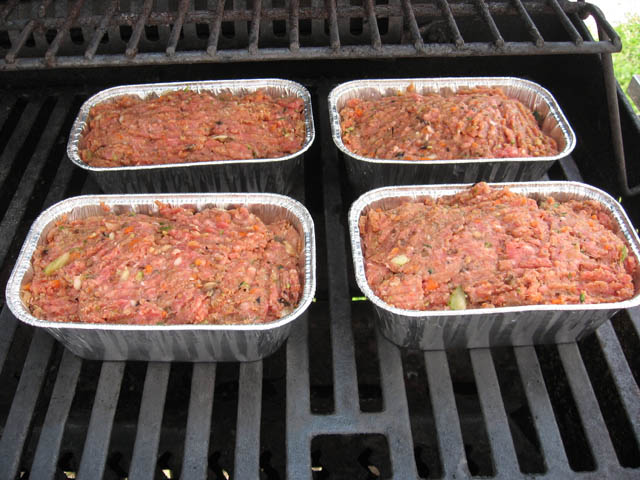 Meatloaf
 Ready of Package Meatloaf
 Cured Peameal Bacon
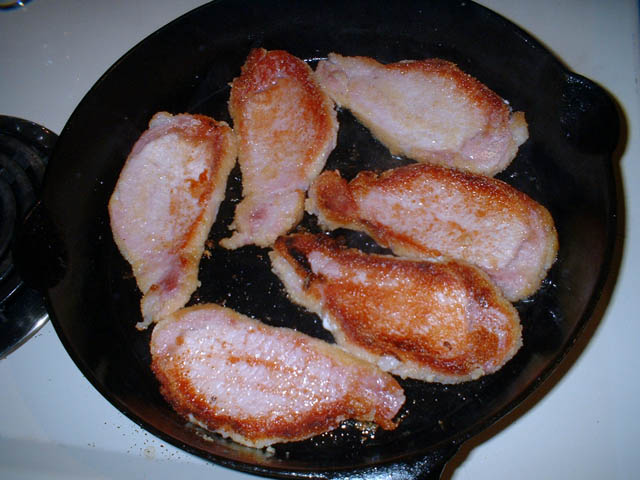 Frying
 Ready to Eat
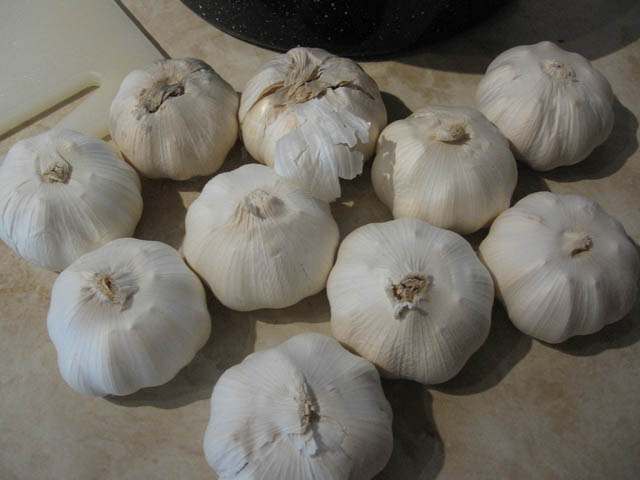 Fresh Garlic
 Roasted Garlic
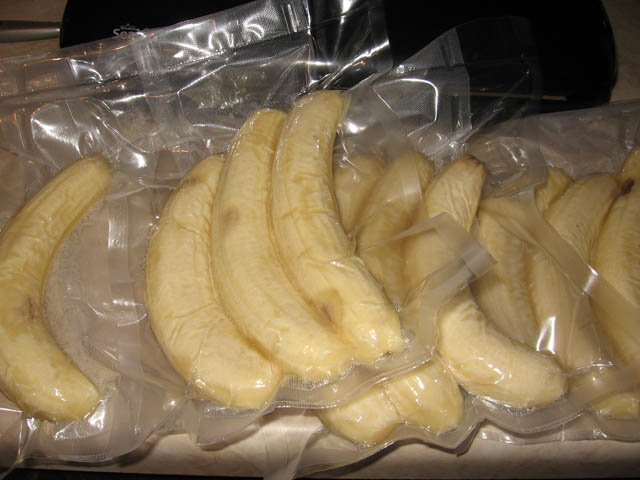 Bananas
 Accorn Squash
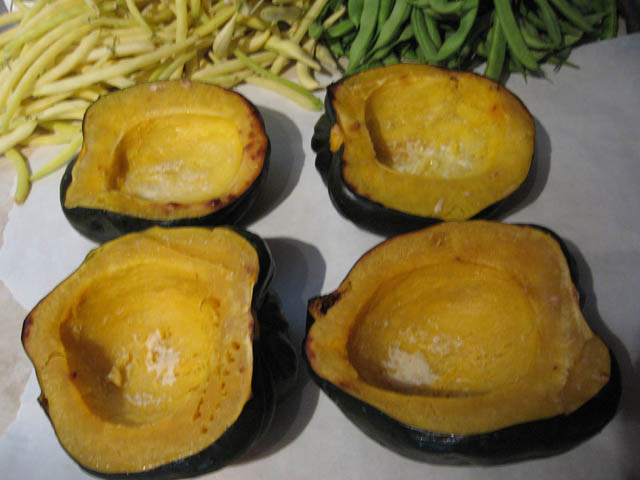 Roasted Accorn Squash
 Squash for Freezing
 Sealed Squash
 Mushrooms
 Partial Sauce Ingredients
 Homemade Spaghetti Meat Sauce
 Dried Mushrooms
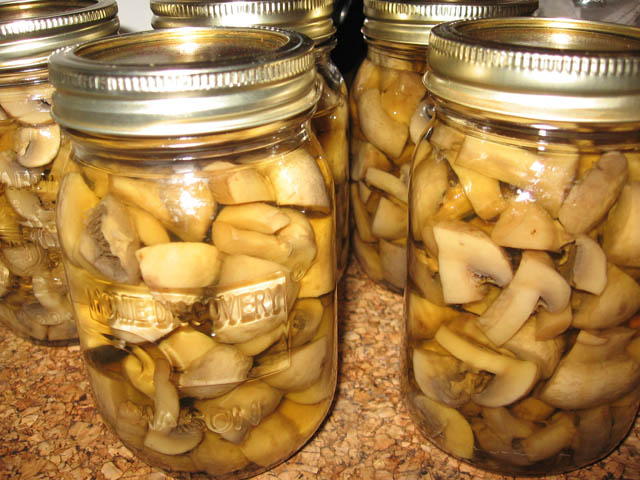 Canned Mushrooms
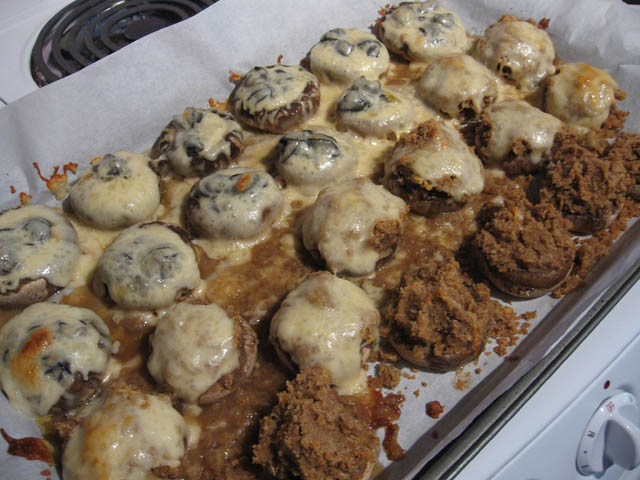 Stuffed Mushrooms
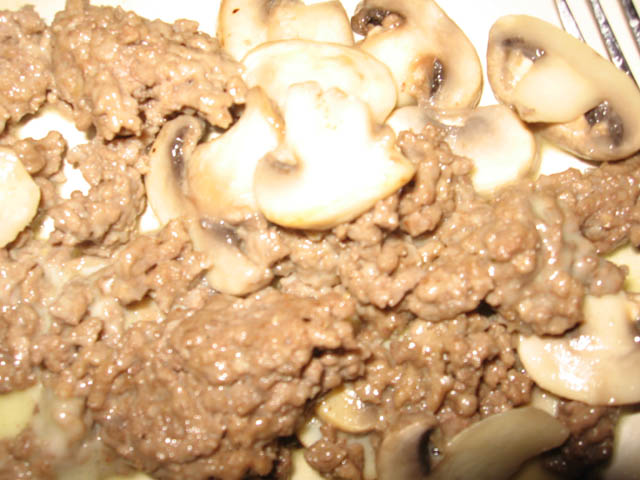 Inpromtu Entree
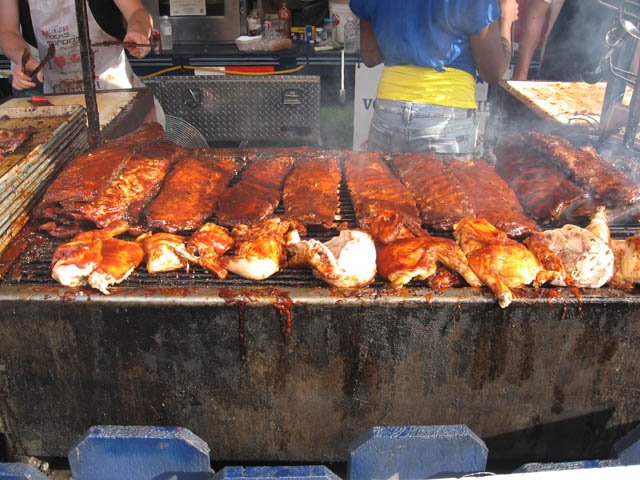 Ribs
Ribs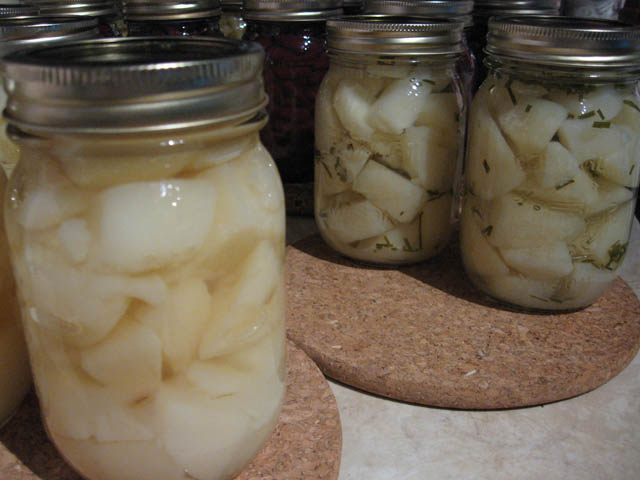 Home Canned Potatoes - Plain and with Chives
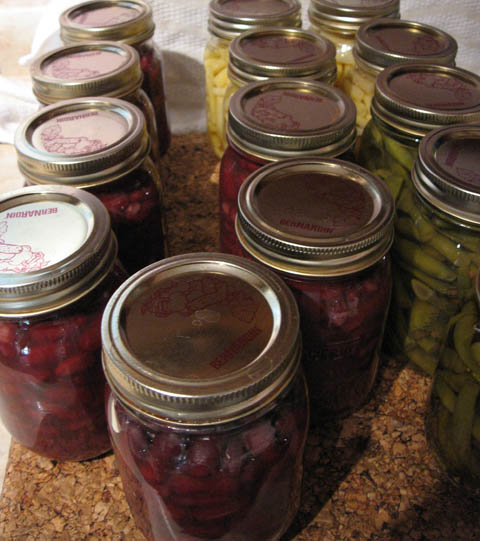 Dark Red Kidney Beans
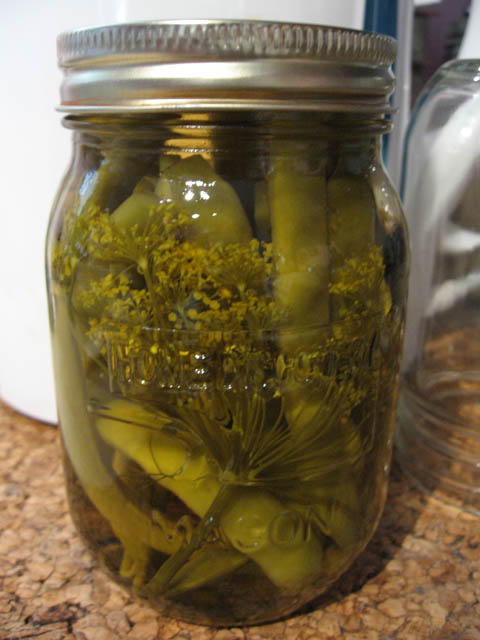 Dilly Beans
 Ingredients
 Roasted Tomato Sauce
 Tomato Zucchini Sauce on Grill
 Food Mill
 Roasted Tomato Zucchini Sauce in Jars
 Peppers
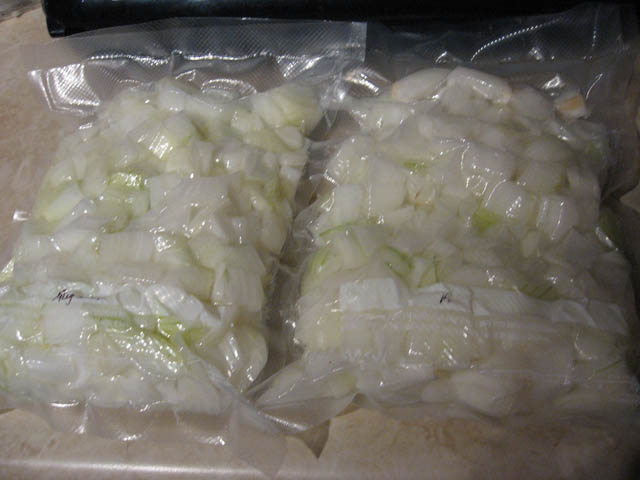 Onions