


When frost is threatening your tomatoes, what do you do with all those green tomatoes? Most people will pick the tomatoes and set them in windowsills to ripen giving them a steady supply of red tomatoes into early winter. But there are other things you can do with green tomatoes. You don't even have to wait until frost threatens. Salsa Verde can be made anytime you have green tomatoes.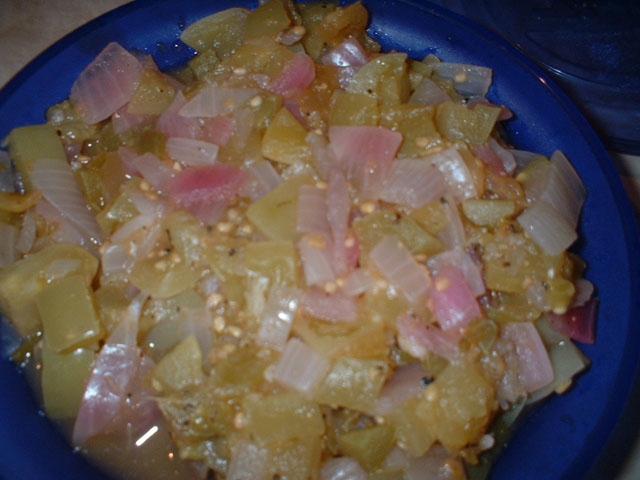 Salsa Verde
Salsa Verde is a wonderful way to use up a few green tomatoes. You will need about 14 medium green tomatoes. You can use either unripe green tomatoes or a variety that is green when ripe. If using unripe tomatoes use when the green colour is pale. Green tomatoes contain solanine which can be toxic in large amounts. Dark green tomatoes contain higher levels of solanine so ripen in a brown paper bag until the intense green pales.
Salsa Verde is a nice change from red tomato salsa. It has a unique flavour that goes well with nacho chips as a dip. It can also be used as a topping on crackers or french bread rounds. Spread cream cheese on the crackers or rounds then top with a bit of salsa verde. Salsa Verde can also be used as a condiment on hamburgers or as a meat accompaniment. However you like it, salsa verde is great to have on hand.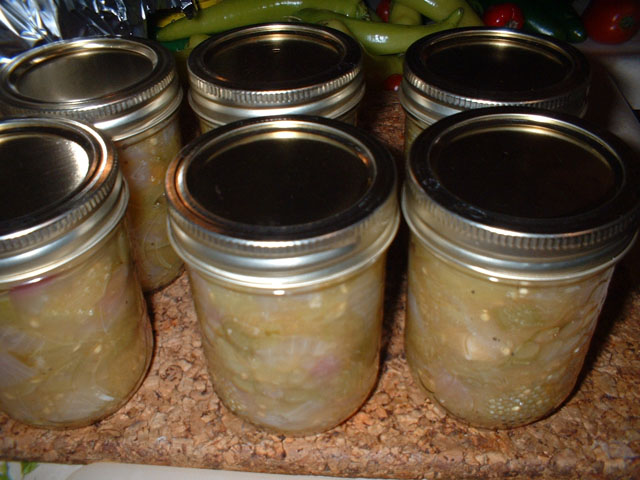 Salsa Verde in Jars
This sauce is pretty in the jars! Any leftovers can be used within a day or two. I think it tastes best when allowed to age at least a month. The flavours meld nicely for a flavourful sauce sure to please.
SALSA VERDE
by: Bernardin, Tomatoes Canning & Speciality Recipes, 2000. Pp. 37
7 cups (1750 ml) chopped green tomatoes, about 3.5 lb (1.6 kg), 14 medium
5-10 jalapeno or scotch bonnet peppers, finely chopped
2 cups (500 mI) finely chopped red onion, about 1 large
1/2 cup (125 mI) lime juice
2 cloves garlic, minced 1/2 cup (125 mI) chopped cilantro
2 tsp (10 mI) cumin
1 tsp (5 mI) oregano 1 tsp (5 mI) Each: salt and black pepper
Place 6 clean 250 ml mason jars in a boiling water canner; fill with water, bring to a rolling boil. Boil SNAP lids 5 minutes - not longer - to soften sealing compound. Keep jars and SNAP Lids in hot water until ready to use. Wash, core, seed and coarsely chop tomatoes; drain off excess liquid. Measure 7 cups (1750 ml). In a large stainless steel saucepan, combine prepared tomatoes, peppers, onion, lime juice and garlic. Bring to a boil. Stir in cilantro, cumin, oregano, salt and black pepper; simmer 5 minutes. Remove from heat. Ladle salsa into a hot jar to within 1/2 inch (1 cm) of the rim (headspace). Using nonmetallic utensil, remove air bubbles. Wipe jar rim removing any stickiness. Center SNAP Lid on jar; apply screw band securely until fingertip tight. Do not overtighten. Place jar in canner. Repeat for remaining salsa. Cover canner; return water to a boil. At altitudes up to 1,000 ft (305 m), process - boil filled jars - 20 minutes. (See page 5, ALTITUDES). Remove jars without tilting. cool upright, undisturbed 24 hours; DO NOT RETIGHTEN screw bands. After cooling check jar seals. Sealed lids curve downward. Remove screw bands; wipe and dry bands and jars. Store screw bands separately or replace loosely on jars, as desired. Label and store in a cool, dark place.
~ Makes about 6-250 ml jars.
My Notes: I replace the screw bands. Let the sauce age for at least one month for the best flavour.

 Tomato Zucchini Experiment
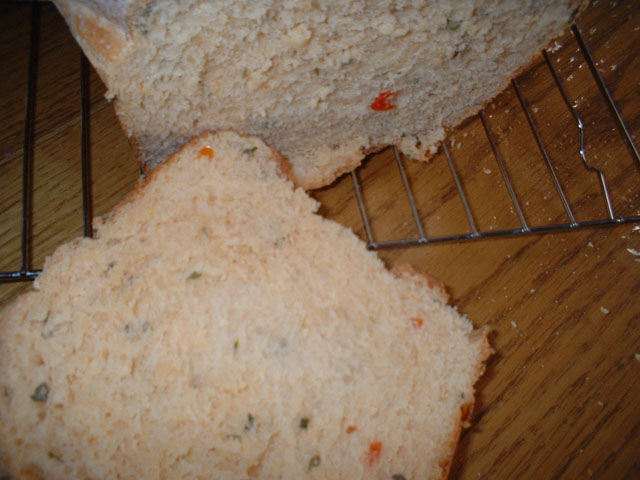 Herbed Tomato Bread
 Zucchini Loaf
 Corn
Corn Husked
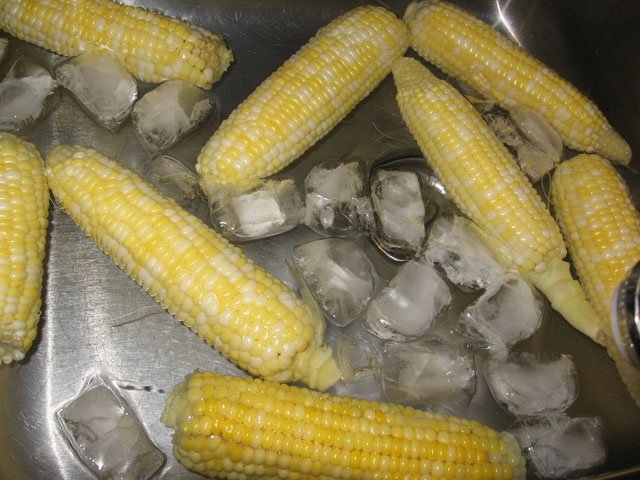 Blanched
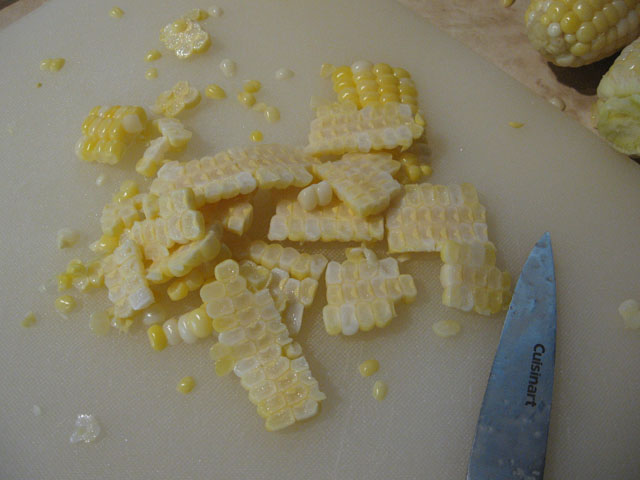 Cut From Cob
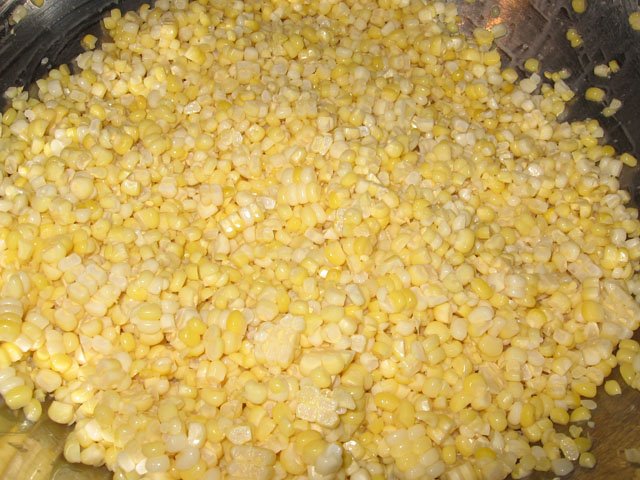 Niblets
 Vacuum Sealed Corn Niblets
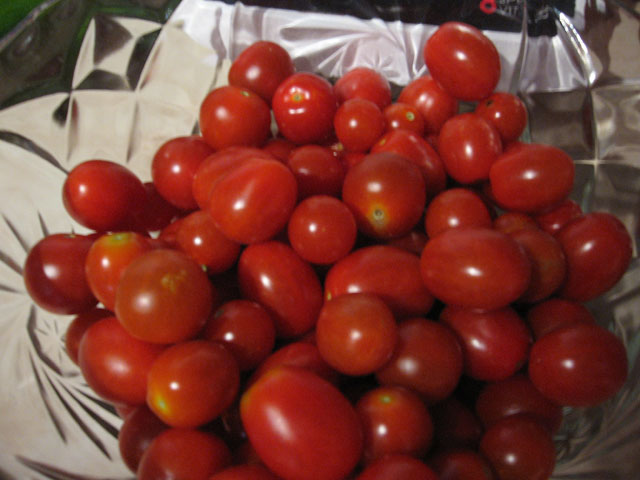 Cherry Tomatoes
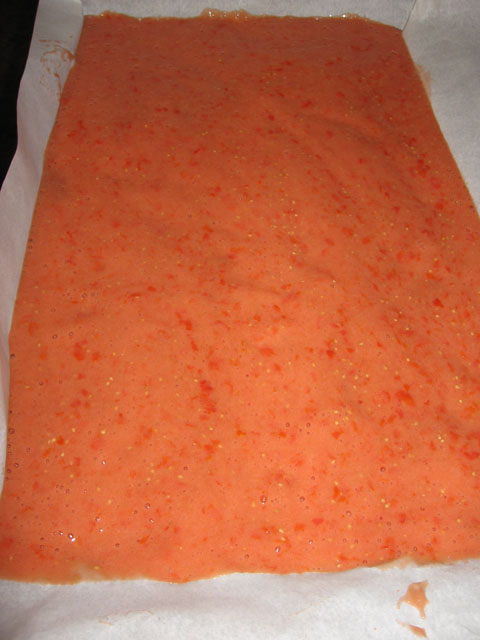 Puree
Puree Dried Tomato Puree
 Tomato Powder
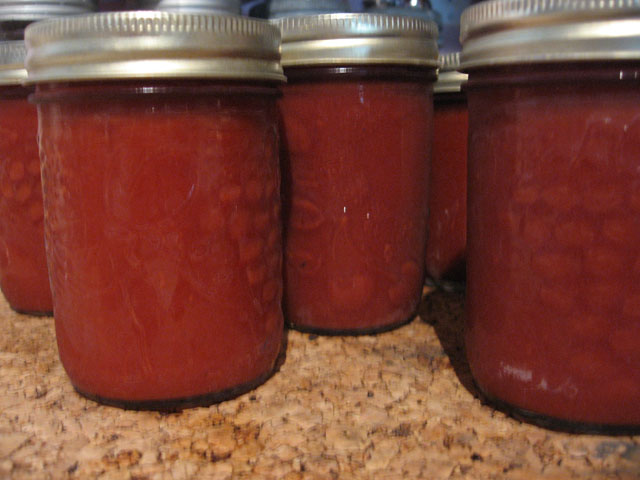 Taco Hot Sauce
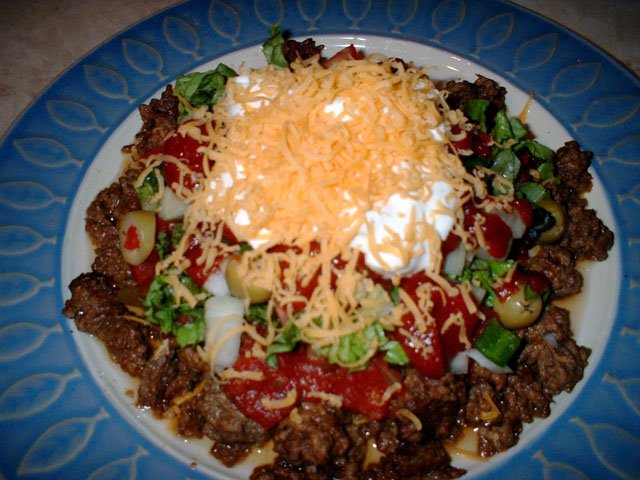 Taco Salad
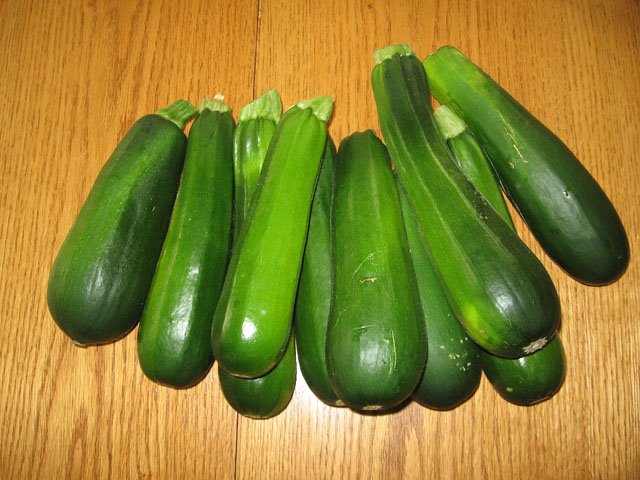 Zucchini
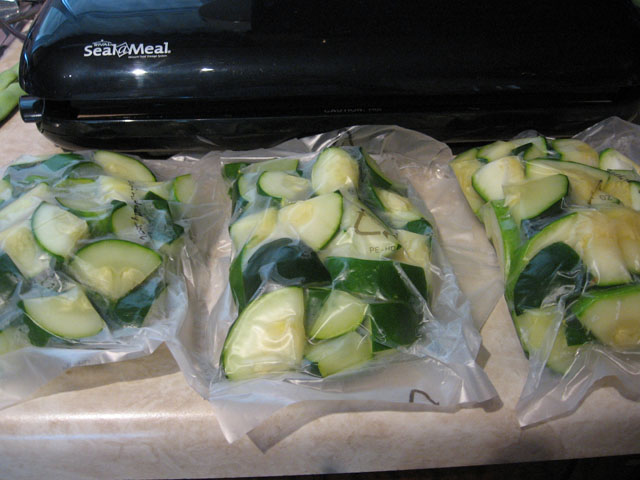 Zucchini Chunks
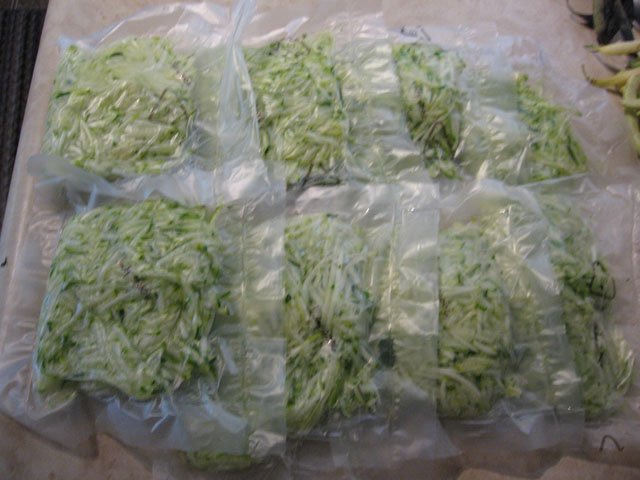 Shredded Zucchini
 Beans
Beans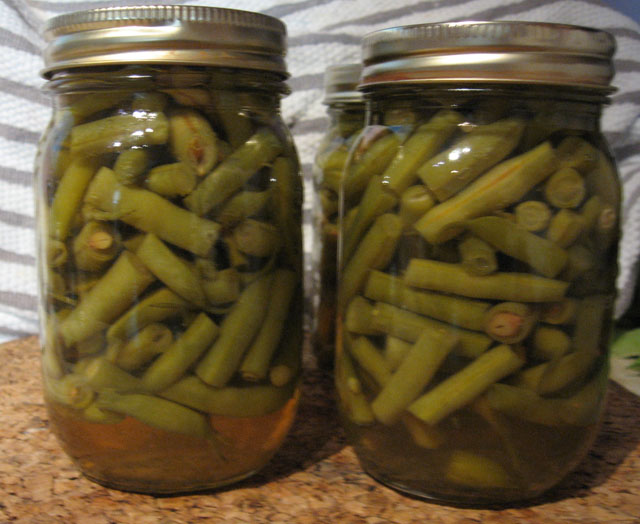 Canned Beans
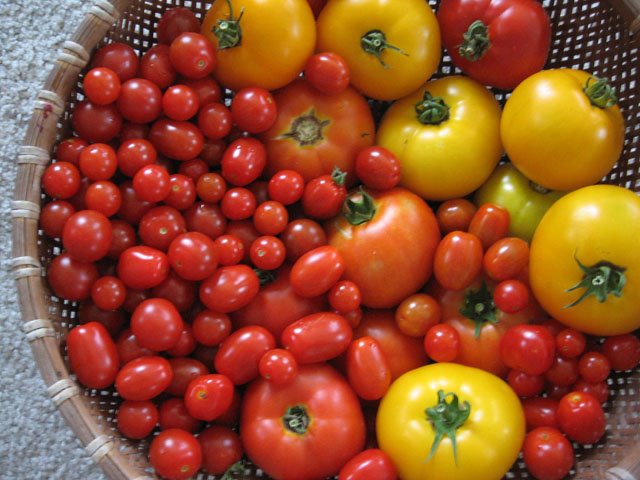 Tomatoes